Creating a Table of Contents
For online outputs, a table of contents is a list of topics with which the user navigates the site. Before you build your output, you must add your topics to a table of contents and assign the table to a target. This guide focuses on building an online table of contents for an HTML5 output. For information on creating a table of contents for PDF outputs, see “Differences for PDF Output.”
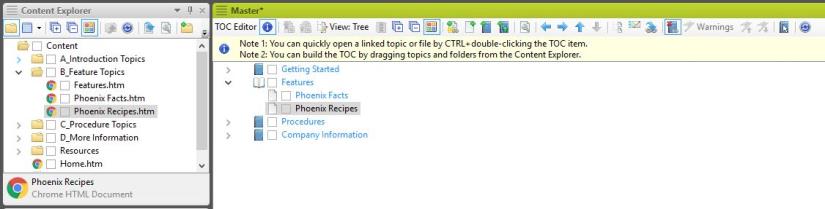
- Double-click Master (Master) in the TOCs folder in the Project Organizer. The TOC Editor appears.
- Drag and drop topics from the Content Explorer to the TOC Editor in the order in which you want them to appear in the output.
- Note: A blue arrow marks the place where a topic lands when you release the mouse button while you are dragging and dropping it into the TOC Editor. If a topic lands inside or outside the desired grouping, select the topic and click the corresponding arrow at the top of the TOC Editor to move it left or right.
- Double-click the target you want add the table of contents to in the Targets folder in the Project Organizer. The Target Editor appears.
- Select the General tab in the Target Editor.
- Select Master in the dropdown next to “Master TOC.”
- Save to apply your changes.